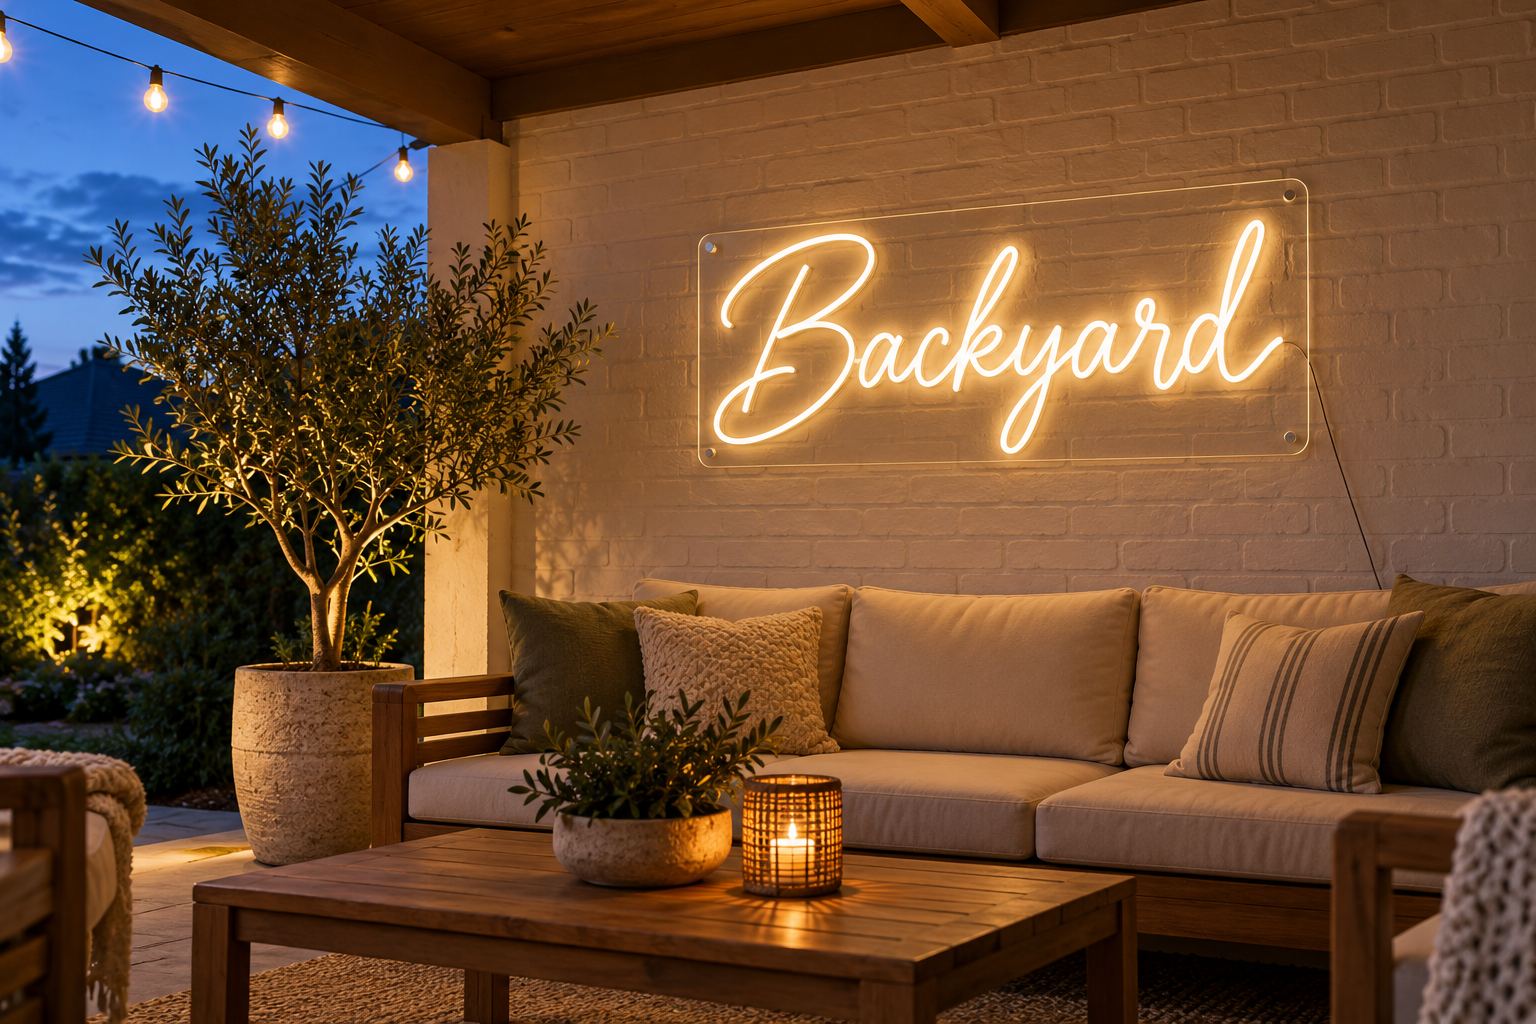
Hanging
How to hang a neon sign on a wall or ceiling
Step by step: how high to hang it, wall standoffs and anchors, ceiling cables, hanging outdoors, safety while you work and fixes for a crooked sign.
Updated
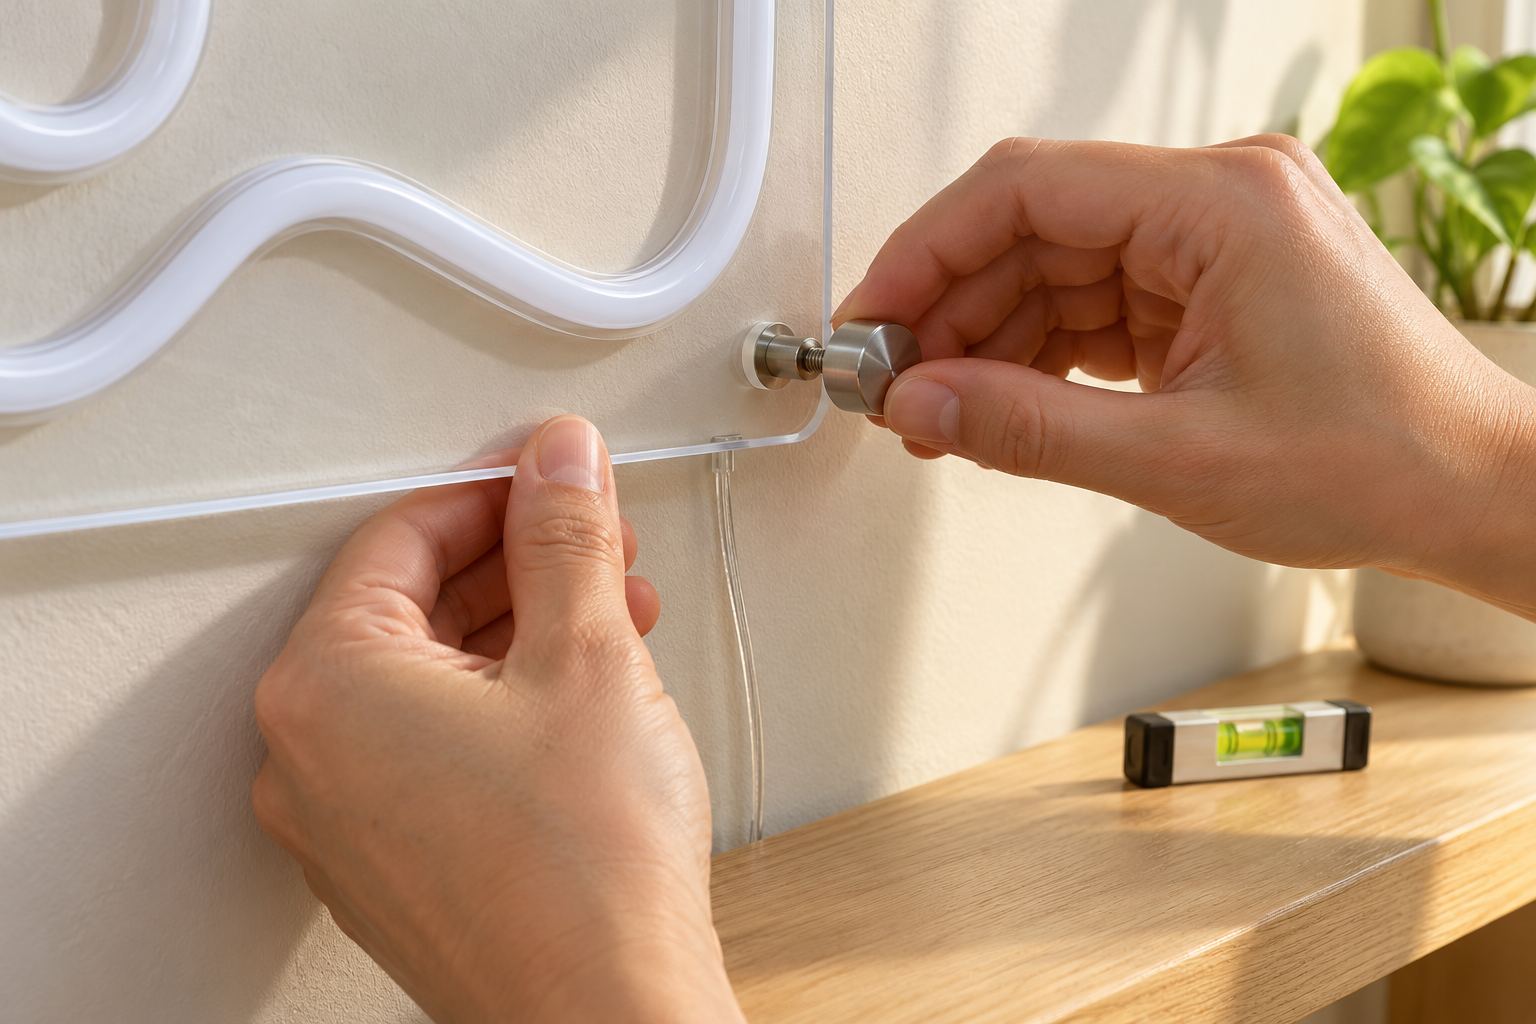
Every LED sign we make comes with the mounting kit for the installation you chose, so you already have the hardware. Hanging it takes about as long as hanging a mirror. This guide covers where to put the sign, standoffs and ceiling cables step by step, outdoor spots, and fixes for a crooked sign.
Pick the method first
| Method | Best for | What holds the sign |
|---|---|---|
| Wall standoffs | Most walls at home or in a business | Stainless barrels screwed to the wall, caps through the board’s holes |
| Ceiling hanging cables | Shop windows, over a bar, backdrops, slat walls | A disc on the ceiling, a thin steel cable and a snap hook in each hole |
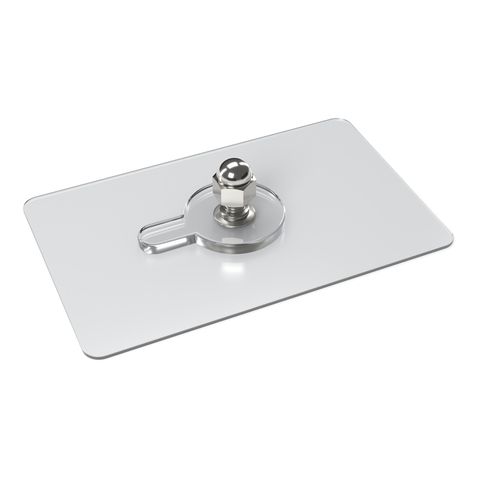
| No-drill adhesive mounts | Renters, tile, glass | An adhesive plate with a threaded stud at each corner |
| Free-standing base | Desks, bars, reception counters | A clear 8 mm acrylic base the sign slots into |
The last two need no drill at all. They have their own guide: how to hang a neon sign without drilling. The rest of this page covers standoffs and cables.
How high to hang it
- On an open wall: put the center of the sign about 57 to 60 in above the floor. It is the height galleries use for art, and it puts the sign at eye level for most adults.
- Over a sofa, bed or console: leave about 8 to 10 in between the top of the furniture and the bottom of the board. A sign about two thirds as wide as the furniture looks balanced. Our size guide has more on width.
- Behind a bar or counter: go higher, so bottles, coffee machines and people standing at the counter do not cover the bottom line.
- In a shop window: where people on the sidewalk look, clear of any window lettering.
Tape the paper template (below) at that height and look at it from across the room before you drill.
Tools you need
- Tape measure and pencil
- A sheet of paper or kraft paper bigger than the sign, and painter’s tape
- A level (a phone level app works for small signs)
- A drill, a bit that matches the anchors, and a screwdriver
- A stud finder, if you have one
- A masonry bit for brick or block, or a glass-and-tile bit for tile
- A step ladder and, for signs wider than your arms, a helper
Safety while you work
- Keep the sign unplugged until it is on the wall.
- Set the ladder on firm, level floor. Face it and keep three points of contact, two hands and a foot or two feet and a hand. Do not carry the drill up in your hand, and move the ladder rather than leaning out.
- Wear safety glasses when you drill overhead or into masonry.
- Carry the sign by the edges of the board, not by the tube or the cable. A helper makes a wide sign much easier to line up.
Before you drill: plan the power
- Test the sign first. Lay it on a soft surface, connect it and switch it on. A loose plug is easier to sort out on the floor than on the wall.
- Find the outlet. The sign runs on a plug-in adapter, so the outlet decides where the cable goes. Hold the sign up and see where the cable leaves the board and whether it reaches.
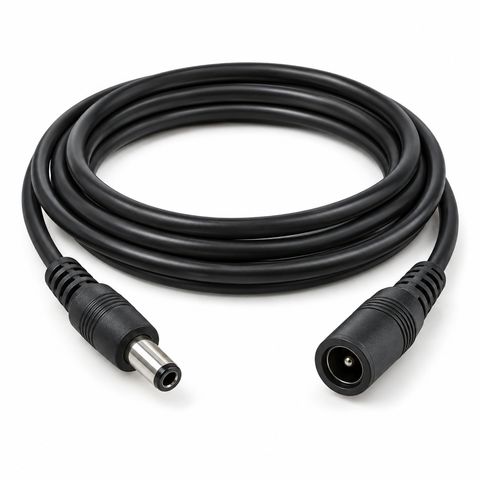
- Plan the cable route. Straight down to the outlet looks neatest. If the outlet is too far, our DC extension cable adds 6.5, 10 or 16 ft. Use one extension, not a chain of them.
- Test the remote where it will live. If you chose a remote dimmer, put its receiver in its final spot and check that the remote works from where you will sit before you hide it.
Hanging on a wall with standoffs
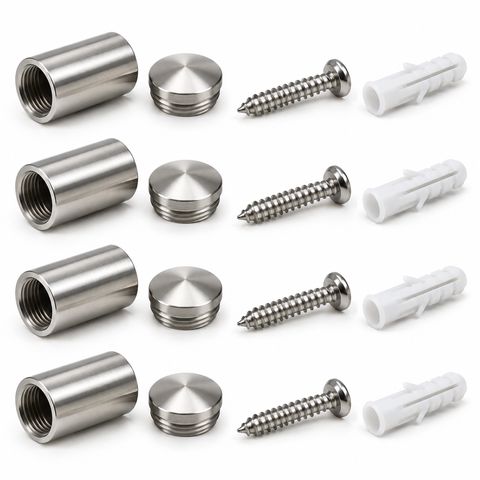
Our standoff kit has a polished stainless barrel, a cap, a wood screw and a plastic wall anchor for each hole. The holes in the board are 1/4 in across, and the finished sign floats about 1 in off the wall.
- Make a template. Lay the sign face down on the paper, trace the board and mark the center of each hole. Mark the top edge too.
- Tape it up at the height you chose and look at it from across the room.
- Level it. Put the level on a line between the two top holes and adjust until the bubble sits in the middle.
- Check for wires and pipes. Do not drill directly above or below an outlet or a switch, where cables usually run. A stud finder shows studs and some can also detect live wires.
- Mark through the paper with a pencil at each hole, then take the template down.
- Drill and fit anchors. Tap a plastic anchor into each hole until it is flush with the wall. If a mark lands on a stud, skip the anchor and drive the screw straight into the wood.
- Fix the barrels. Screw a barrel to the wall at each mark, snug but not forced.
- Fit the sign. Line the board’s holes up with the barrels, push each cap through a hole and screw it into its barrel. Tighten by hand. Overtightening can crack acrylic.
- Connect and switch on. Plug the sign into the dimmer, the dimmer into the adapter and the adapter into the outlet.
Drywall, studs, masonry and tile
- Drywall: the plastic anchors in the kit are made for it. Pick a bit the same diameter as the anchor’s body. For a large sign, use studs where you can; they are usually 16 in apart, center to center, sometimes 24 in.
- Wood paneling or a stud: no anchor needed. Drill a small pilot hole and drive the screw in.
- Brick, block or concrete: use a masonry bit, and the hammer setting if your drill has one. Blow the dust out of the hole before you tap in the anchor.
- Tile: put painter’s tape over the spot so the bit does not skate, use a glass-and-tile bit and drill slowly. If you would rather not drill tile at all, use our no-drill adhesive mounts.
- Wood slat panels: screw into a solid slat, not the gap. Hanging the sign on cables in front of the slats is often easier.
Hanging from a ceiling with cables
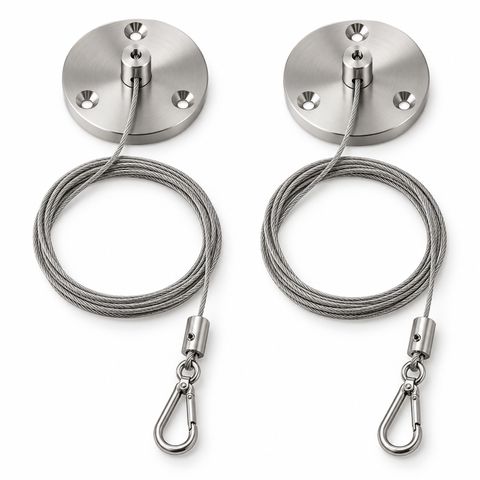
The ceiling hanging kit has, for each cable, a round disc that screws to the ceiling with three screws and grips the cable, a thin stainless steel cable and an adjustable gripper with a spring snap hook at the lower end.
- Measure the hole spacing across the top of the board.
- Mark the ceiling at the same spacing, directly above where the sign will hang, so the cables run straight down.
- Fix the discs. Screw them into a joist, a wood header above the window or a solid beam if you can. On a plain drywall ceiling, use anchors made for ceilings. A suspended ceiling tile cannot hold a sign.
- Thread the cables through the discs and clip each snap hook into a hole in the board.
- Set the height and level. Slide each gripper along the cable until the sign sits where you want it and is level.
- Trim the spare cable and run the power cable down to the outlet.
Two cables suit most signs. Use four for a wide sign, or anywhere the sign must not swing, such as near a door or a fan. In a shop window, hang it a few inches back from the glass so you can still clean the window. Our guide to OPEN signs and storefront neon covers window sizing.
Backdrops and frames
On a wooden backdrop frame or arch, screw the discs into the top rail and hang the sign in front of the backdrop. Fabric, balloon and flower walls cannot hold a screw or adhesive. Hang the sign from the frame behind them, or stand it on a table with a clear acrylic base. With no outlet nearby, the battery box runs a sign for about 4 to 5 hours on a set of 8 AA batteries.
Hanging a sign outdoors
A sign on a porch, patio or storefront needs the outdoor build, which is IP67 rated. Hang it under a roof or awning where you can.
- Fixings: use the stainless standoffs into masonry or solid wood, or cables from a covered beam.
- Adapter: keep it indoors or in a weatherproof outlet box. Most local codes ask for GFCI protection on outdoor outlets and, in wet spots, a cover that stays closed with a plug in. An electrician can check yours.
- Cleaning: IP67 is tested in still water, not against jets, so wipe the sign rather than hosing it down.
Indoor vs outdoor neon signs explains the outdoor build in more detail.
Where to put the cable and adapter
- Keep the adapter dry and in open air, on the floor or a shelf. Do not tuck it under cushions or rugs, and do not let it hang by its cord.
- Run the cable straight and fix it with small adhesive cable clips or a paintable cord cover. Never staple through the cable.
- Put the dimmer within reach. The in-line dimmer sits on the cable, so route it to a height where you can turn the knob.
- Leave a little slack at the sign so the cable does not pull on the board.
If something is not right
| Problem | Fix |
|---|---|
| Sign hangs crooked on cables | Slide one gripper up or down until the level reads true |
| Sign crooked on standoffs | Take the sign off, loosen one barrel, fill the hole and redrill a little higher or lower |
| Sign moves when you touch it | Tighten the cap by hand; if a barrel spins, the anchor is loose: use a larger anchor or find a stud |
| Cable pulls the board sideways | Add slack at the sign and clip the cable to the wall |
| Sign swings near a door or fan | Add a third and fourth cable, or switch to standoffs |
Moving it or changing method later
Every kit uses the same 1/4 in holes, so you can move from cables to standoffs or no-drill mounts without touching the board. Kits are sold separately in mounting hardware. Please do not drill new holes in the acrylic yourself, because it can crack. If your wall is unusual or the sign is very large, send us a photo and we will suggest a fixing.
Still choosing a sign? Pick the installation in the neon designer and the right kit comes in the box.
 Custom Outdoor Neon Sign
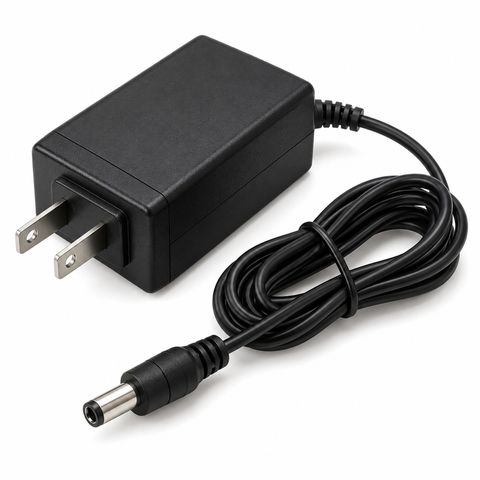 Replacement Power Adapter for LED Neon Signs