Hanging
How to hang a neon sign without drilling
No-drill adhesive mounts, which walls they suit, how long to wait, tile and glass, shelves and picture rails, hiding the cable and a free-standing base.
Updated
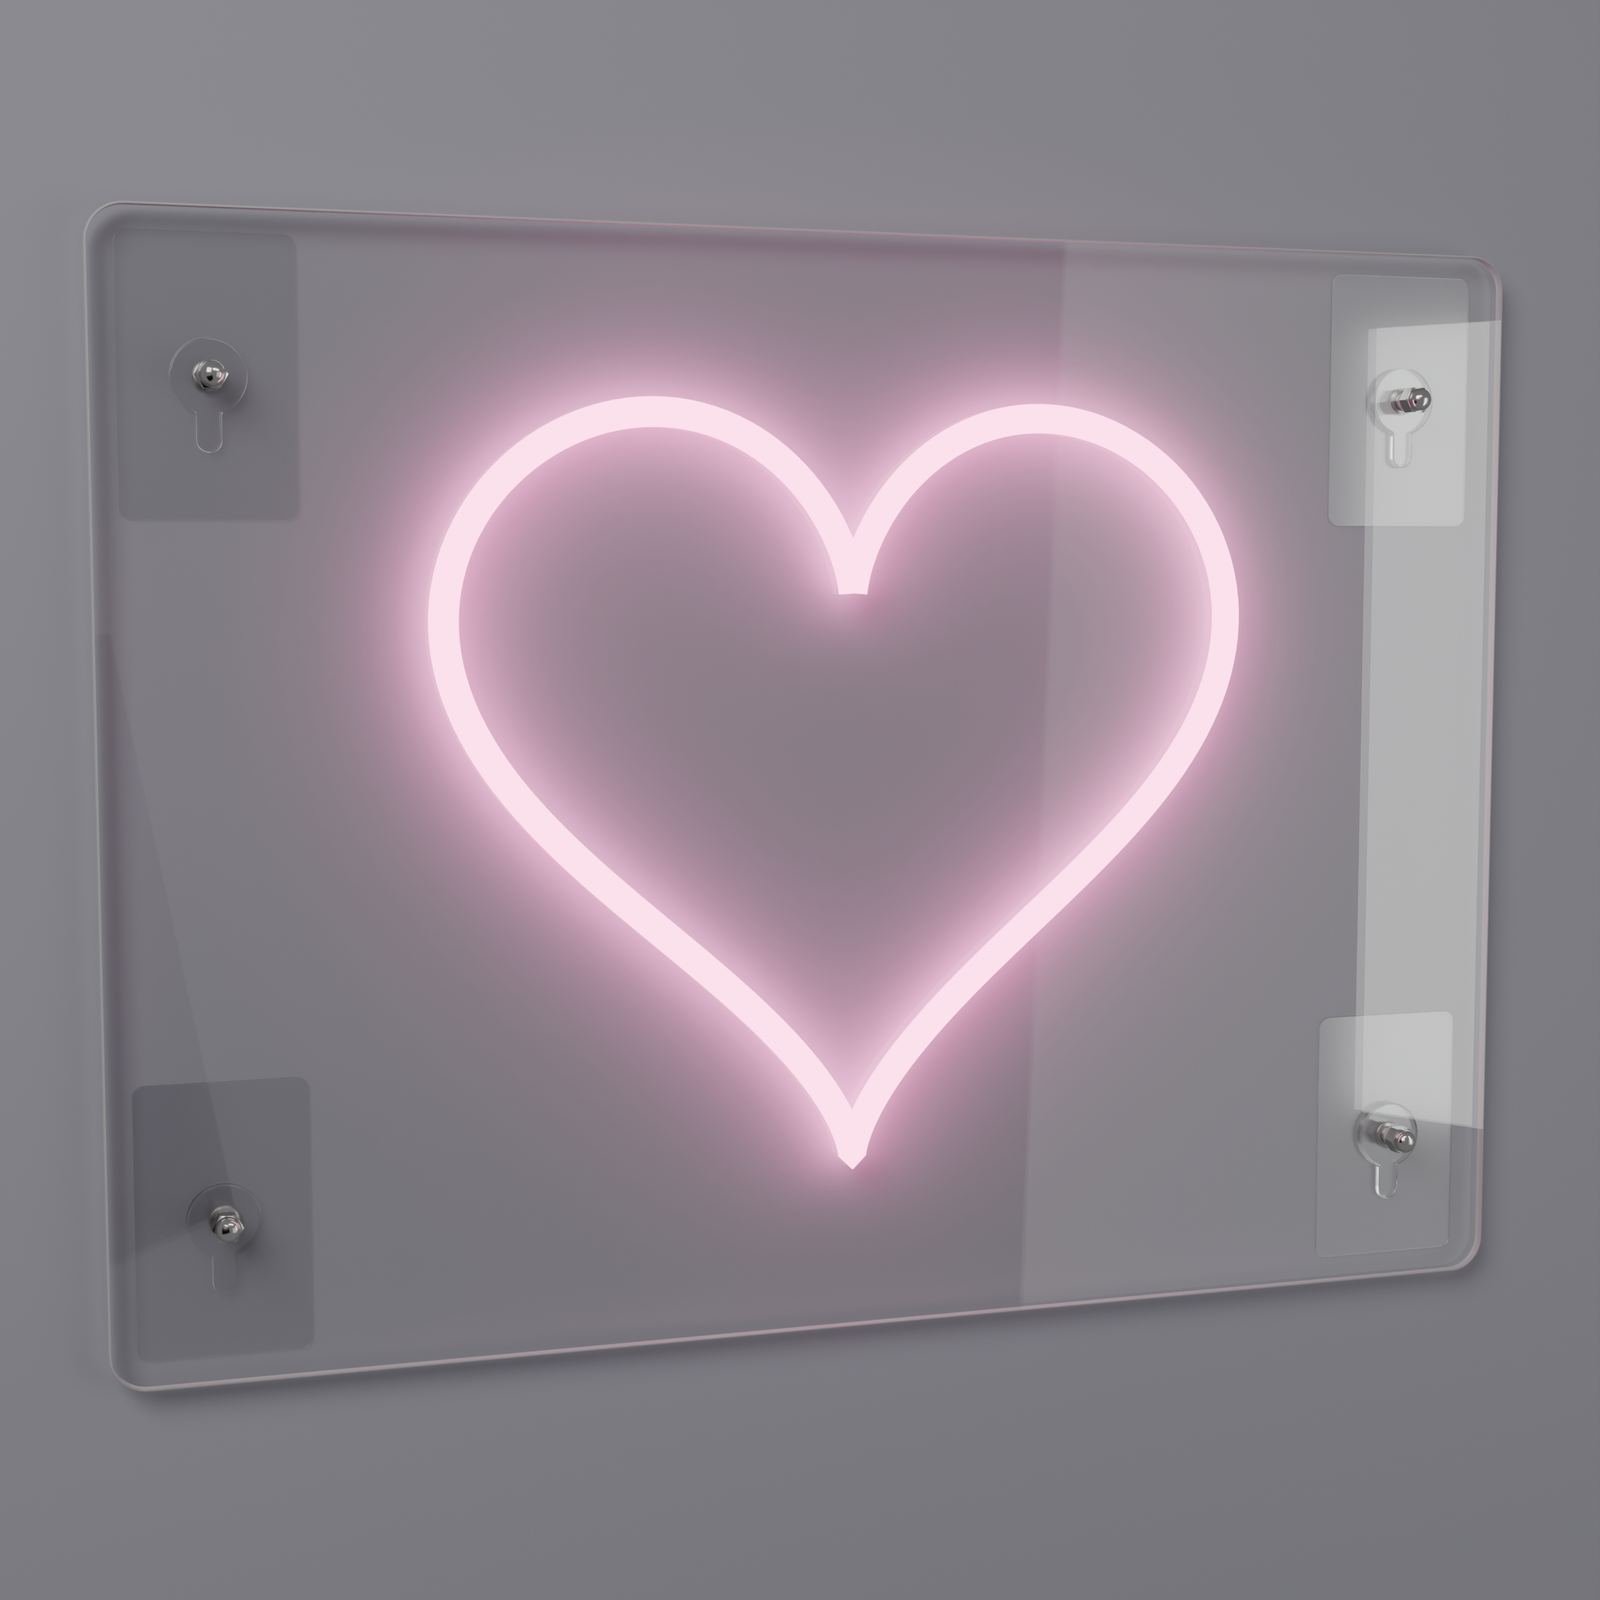
Not every wall can take a drill. Renters, tiled kitchens, glass partitions and freshly finished rooms all call for another way to hang a sign. Our LED signs are light, flat and have mounting holes at the corners, so they work well without screws in the wall. Here are the options and how to get each one right.
Your options at a glance
| Option | Where it works | Comes free with a sign? |
|---|---|---|
| No-drill adhesive mounts | Smooth, sealed walls, tile, glass | Yes, if you choose it as the installation |
| Clear free-standing base | Desks, bars, shelves, reception counters | Yes, if you choose it as the installation |
| Hanging from an existing frame | Backdrops and arches with a wooden top rail | Yes, with ceiling hanging cables |
Every LED sign comes with the mounting kit for the installation you pick in the neon designer, so choose before you order and the right parts arrive in the box.
How our no-drill mounts work
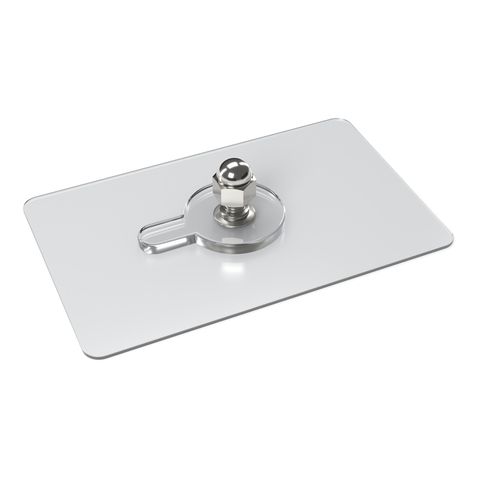
Each no-drill adhesive mount is a clear adhesive base plate with a round resin seat and a threaded stud. The plate sticks to the wall. The stud passes through the 1/4 in hole in the acrylic board, and a cap screws onto it to hold the sign. You use one mount at each corner, so four for most signs. Because the cap unscrews, the sign can come off the wall without touching the adhesive.
Nothing sticks to the board itself. That matters for a printed backboard: adhesive strips stuck to the back of a printed board can pull at the print when they come off, and our mounts avoid that.
Which surfaces suit adhesive mounts
| Surface | Result | Notes |
|---|---|---|
| Glass and mirror | Good | Smooth and sealed |
| Glazed tile | Good | Place on the tile face, not over grout |
| Smooth painted wall, paint fully cured | Good | Wait at least 7 days after painting |
| Laminate, metal, sealed wood | Good | Clean off any wax or polish |
| Textured or orange-peel wall | Poor | Too little contact |
| Wallpaper, vinyl, fabric | No | The covering can peel away |
| Brick, raw concrete, unsealed wood | No | Porous surfaces do not hold adhesive well |
| Outdoors | No | Rain, sun and dust work against the bond |
Step by step
- Plan the power. Find the outlet and decide where the adapter will sit. It should rest on the floor or a shelf, so the cable never hangs its weight on the sign.
- Mark the spot. Lay the sign on paper, mark each hole, tape the paper to the wall and level it. Mark the hole centers lightly on the wall.
- Check the paint. Press a strip of strong clear tape hard onto the wall near a mark and pull it off quickly. If flakes of paint come with it, adhesive will not hold there either. Choose standoffs or a base instead.
- Clean the wall. Wipe each spot with rubbing alcohol (isopropyl), not a household cleaner, and let it dry completely. Keep the alcohol on the wall only. It is not good for the acrylic sign itself (see our guide to cleaning and caring for a neon sign).
- Work at room temperature. Adhesive grabs poorly when it is cold. Avoid a cold window on a winter morning or a wall in strong afternoon sun.
- Stick the plates. Unscrew the caps, peel the release film off the back of each plate and press it onto a mark. Press hard with your thumb for about 30 seconds, over the whole plate.
- Wait. Adhesives keep gaining strength after you press them: most of it within the first day, and the rest over about three days. Leave the plates at least 24 hours before you hang the sign if you can.
- Hang the sign. Fit the board over the studs, screw the caps on by hand and stop when they are snug.
- Tidy the cable (see below), so it hangs straight and does not pull on the board.
For renters
Adhesive mounts are the usual choice when holes are not allowed. To take a sign down, unscrew the caps and lift the board off first. Then work each plate off slowly, close to the wall. A hair dryer on a low setting softens the adhesive and makes this easier. On well-bonded paint the wall stays clean; weak or chalky paint can come away with the plate. If you are moving the sign to a new home, a spare set of mounts is sold separately.
Tile, glass and mirrors
Smooth, sealed surfaces are where adhesive mounts work best.
- Kitchen and bathroom tile: place each mount on the flat face of a tile, not across a grout line. Near a shower or a sink, choose the outdoor build so steam and splashes do no harm, and keep the adapter dry and away from water. Our guide to indoor and outdoor neon signs explains where the outdoor build makes sense.
- Glass partitions and mirrors: clean off every trace of glass cleaner with rubbing alcohol before you stick the plates.
- Shop windows facing the street: ceiling cables usually work better, because the sign can hang a little back from the glass and you can still clean the window.
Backdrops and frames
Fabric, flower and balloon walls cannot hold adhesive or a screw. Two ways work well:
- Hang from the frame. If the backdrop has a wooden top rail, screw the discs of our ceiling hanging cables into the rail and hang the sign in front. This puts a few small screw holes in the frame, not in a wall.
- Stand it in front. Stand the sign on a table on a clear base, so it sits in front of the backdrop.
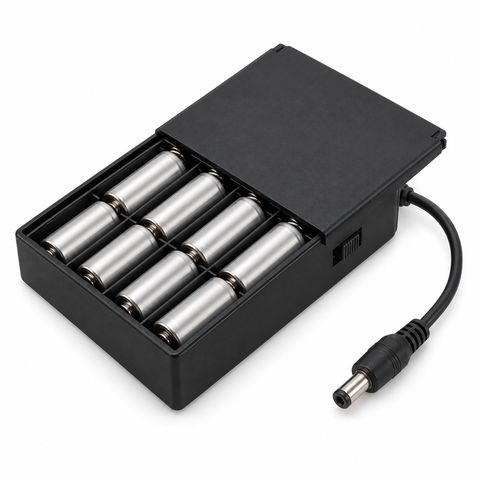
Events often have no outlet near the backdrop. The battery box runs a sign for about 4 to 5 hours on a set of 8 AA batteries, and a fresh set gives another 4 to 5 hours.
More ways to show a sign without drilling
Adhesive mounts and a base cover most rooms. A few other setups also work, best for smaller signs in spots where no one brushes past, because a sign on cord can tilt or swing more than one on mounts.
- Lean it on a shelf, mantel or console. Stand the board on its straight bottom edge against the wall. A picture ledge with a front lip, or a small stop, keeps it from sliding. Run the cable down behind the furniture.
- Hang it from a picture rail. Older homes often have a molding near the ceiling made for this. Use two rail hooks and strong cord or picture wire through the top holes, and level the sign by adjusting each side.
- Hang it from a tension rod across an alcove or a deep window recess, with clear cord through the top holes. Check that the rod is tight enough not to slip under the weight.
- Reuse hooks already in the wall. If two sound screws or hooks from old artwork sit level and about as far apart as the sign’s top holes, cord between them can carry it.
Hiding the cable without nails
- Clear adhesive cable clips along a wall corner, a door frame or the baseboard keep the cable straight.
- A paintable adhesive cord cover hides a run across open wall. Paint it the wall color.
- Furniture and plants hide the last few feet and the adapter. The adapter still needs open air around it.
- Plan the route first. Decide where the cable will run before you stick the mounts, and place the sign so its cable reaches the outlet without stretching.
A free-standing base: no wall at all
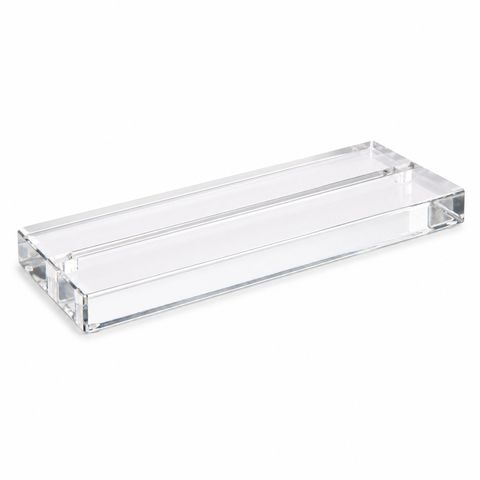
Our clear acrylic stand base is 8 mm thick with a slot along the top. The straight bottom edge of the sign slides into the slot and the sign stands on its own. The base is shorter than the sign and sits centered under it. Pick about six tenths of the sign width: a 10 in base suits a 16 to 20 in sign. Lengths are 6, 10 and 16 in.
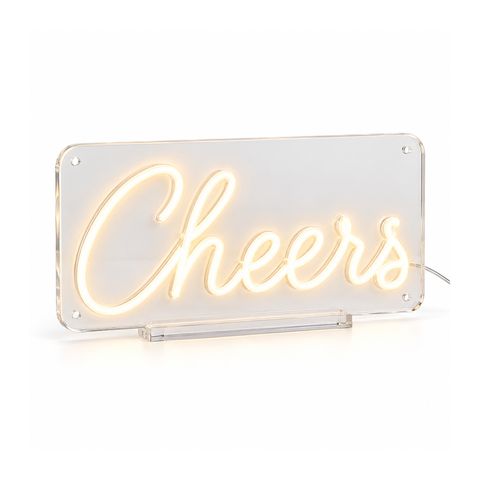
To turn a wall sign into a standing sign, its board needs a straight bottom edge. If you are not sure, send us a photo. For a sign designed to stand from the start, our tabletop neon sign comes 20, 24 or 30 in wide, ready for its base.
What to avoid
- Fresh paint, textured walls, wallpaper and porous surfaces
- Damp walls, or walls that sweat with condensation
- Sticking plates in the cold or in direct hot sun
- Hanging the sign before the adhesive has had time to build
- Letting the adapter or cable hang from the sign
If your wall does not fit any of these cases, or the sign is very large, ask us whether adhesive mounts, standoffs or cables suit it best. If drilling turns out to be fine after all, our guide on how to hang a neon sign covers standoffs step by step.
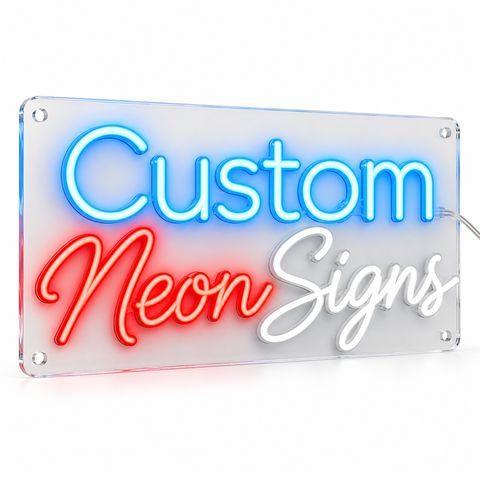 Custom LED Neon Sign
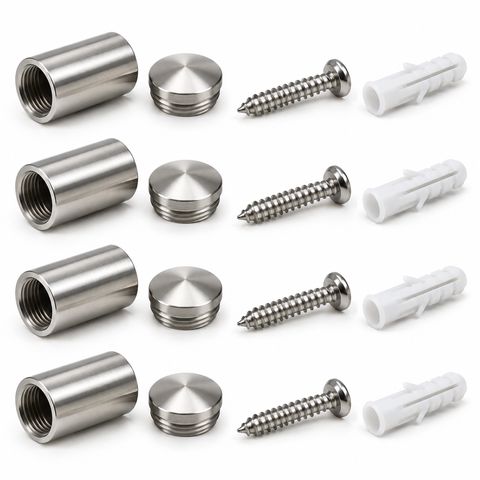 Stainless Steel Standoff Kit for Neon Signs
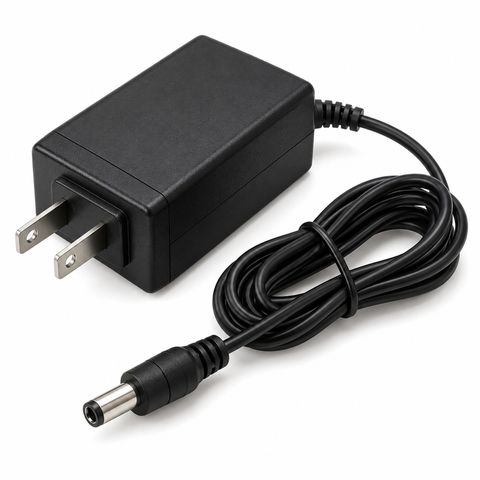 Replacement Power Adapter for LED Neon Signs